This post may contain affiliate links. Please read our privacy policy.
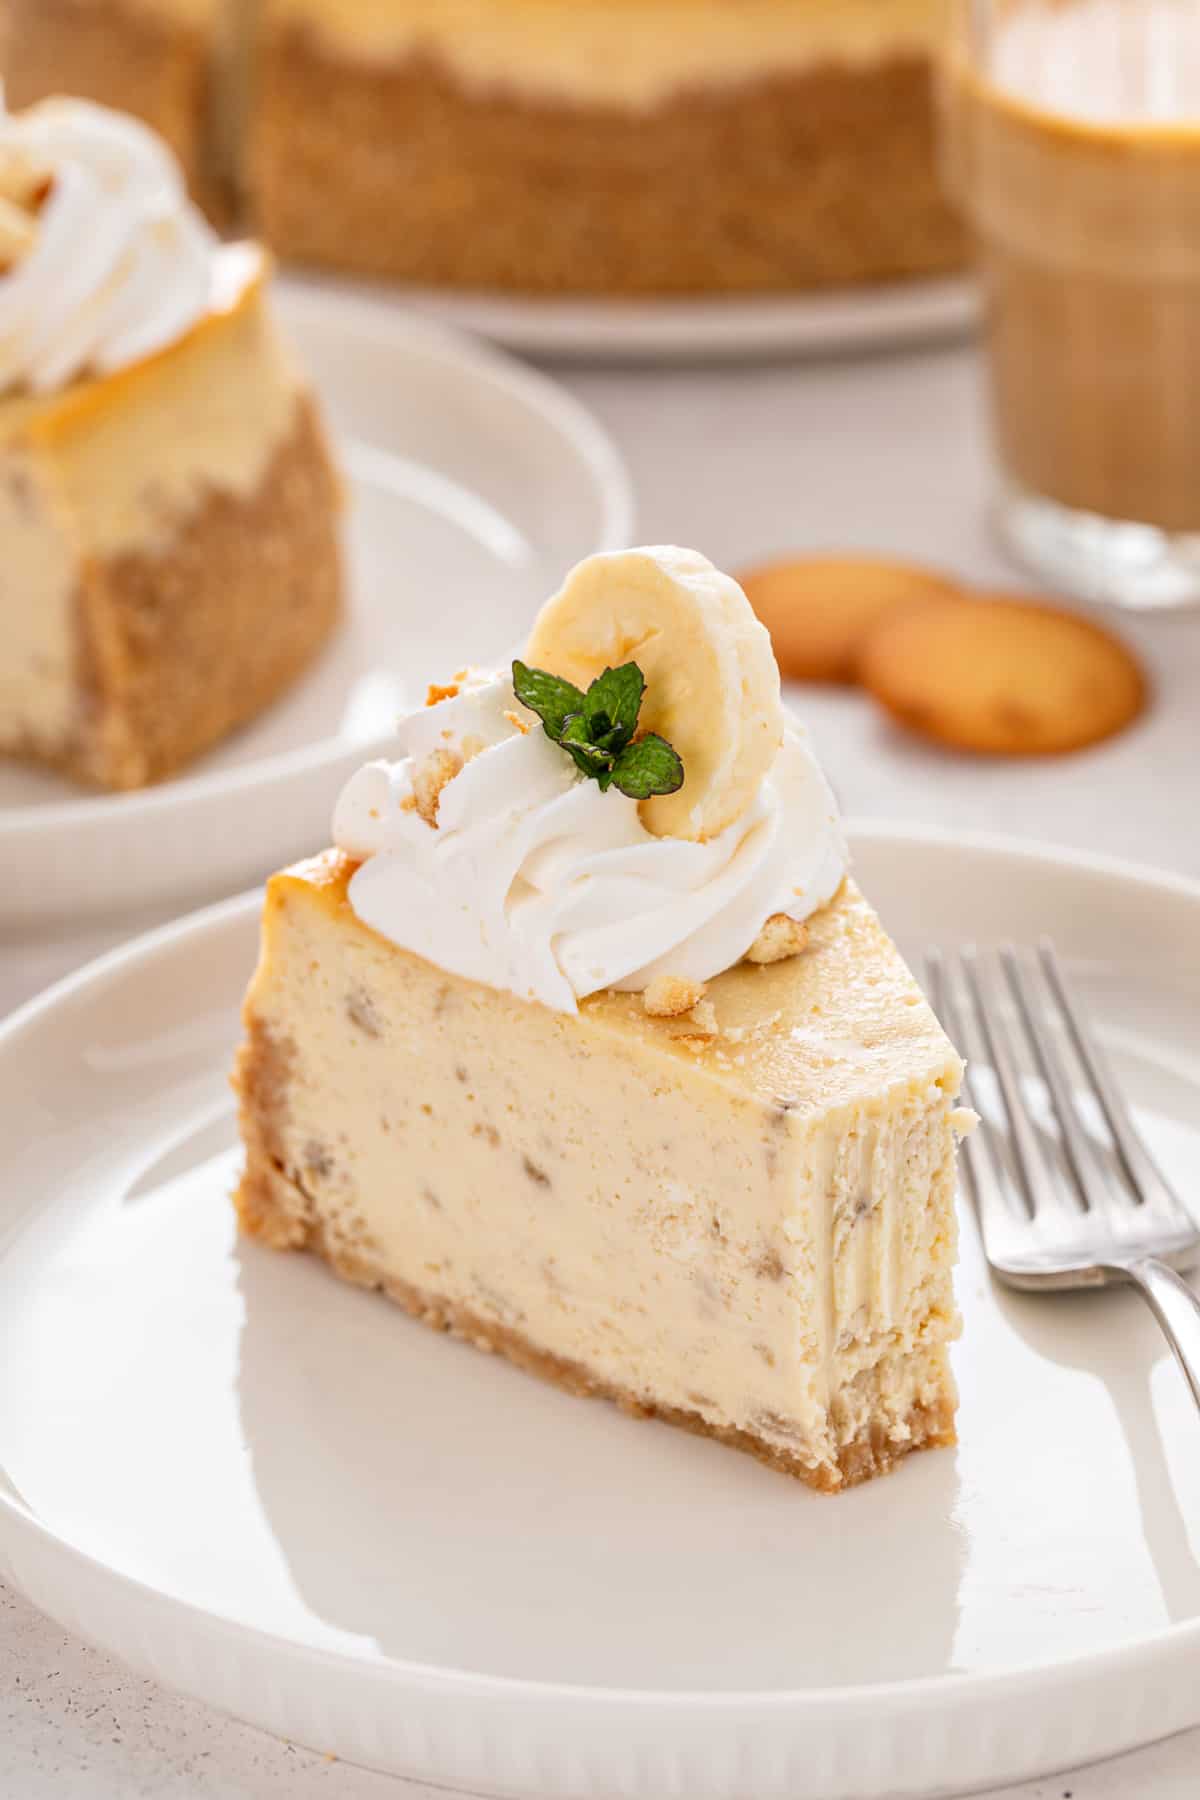
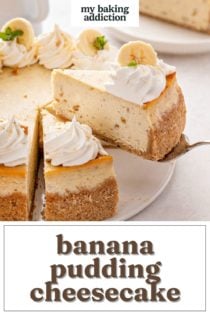
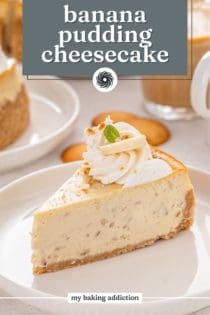
With a vanilla wafer crust and creamy banana filling, this banana pudding cheesecake brings together two of your favorite desserts into one decadent bite.
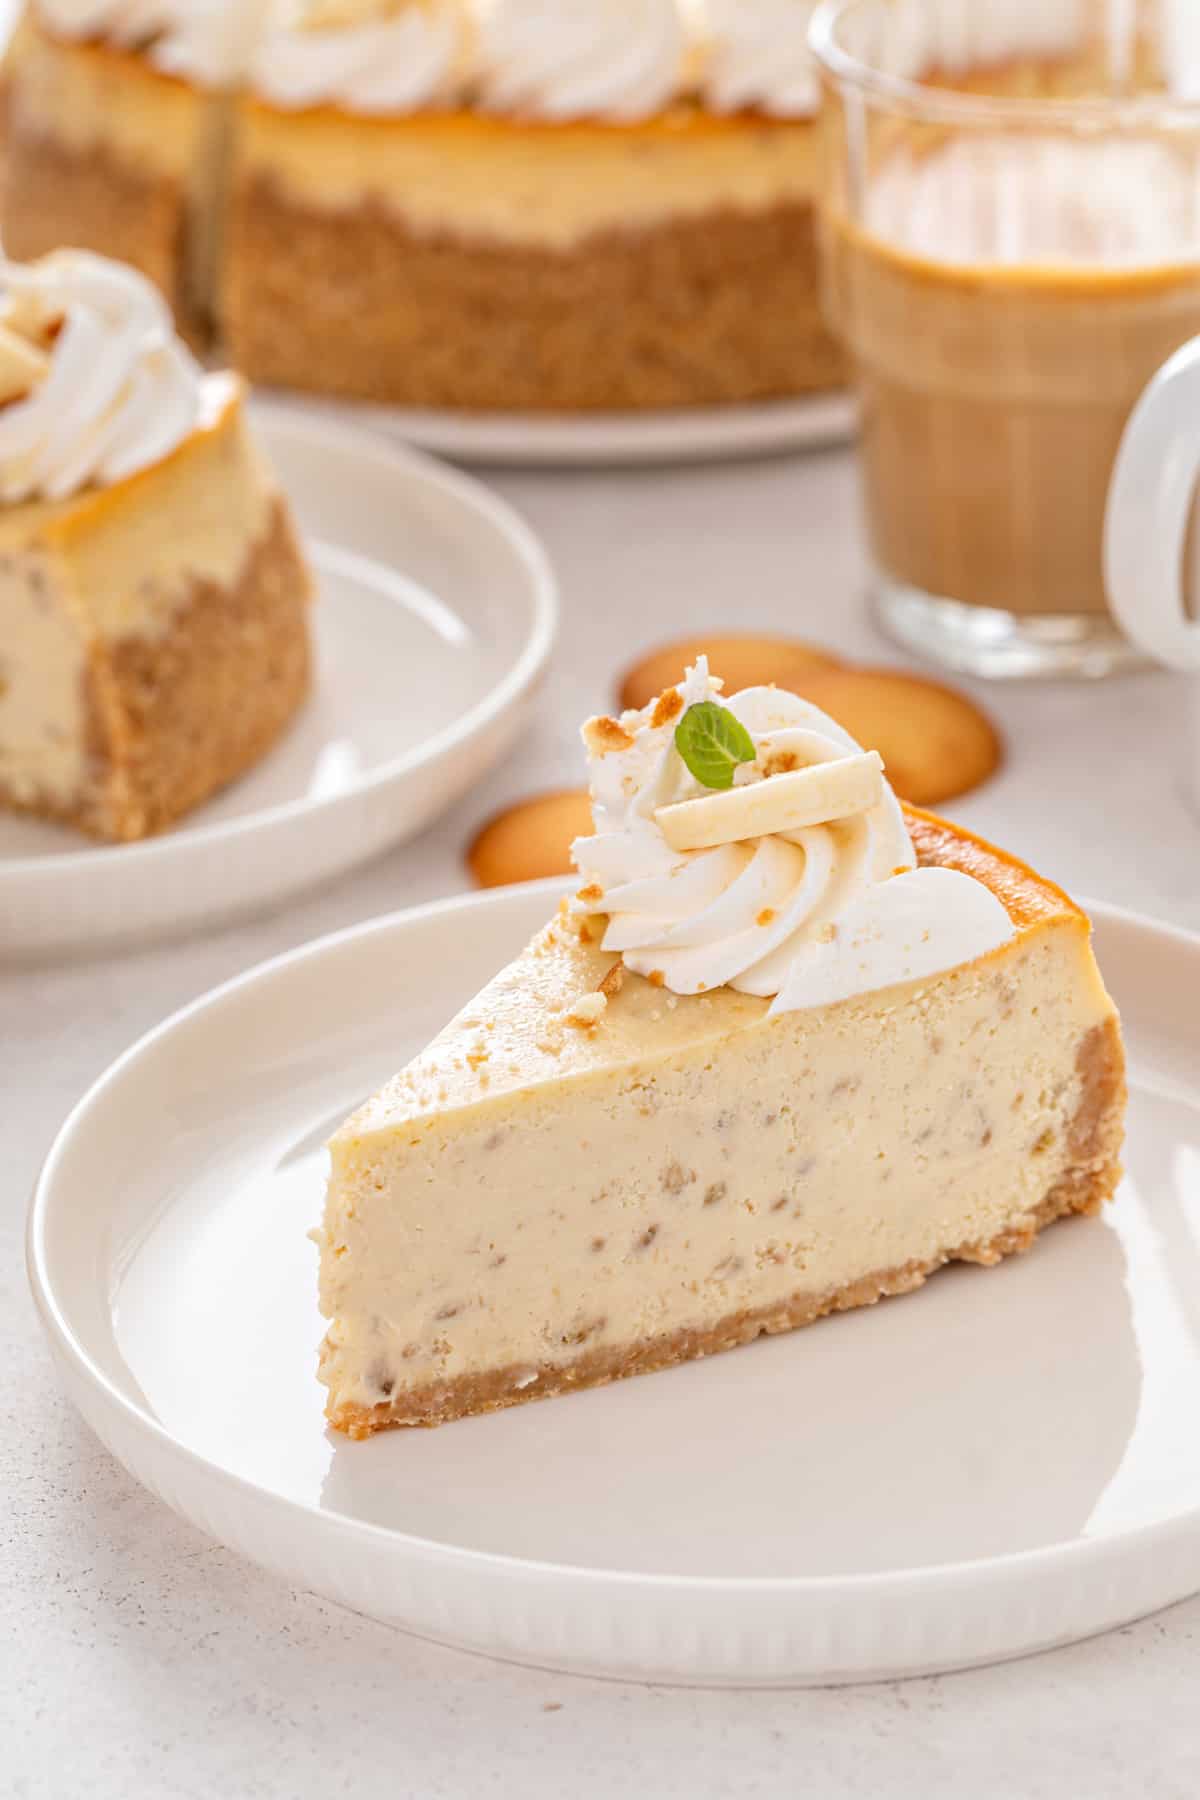
If you’ve been around MBA for a while, you know that I love banana pudding. Whether it’s homemade banana pudding or the easy Magnolia Bakery banana pudding (or even peanut butter and roasted banana pudding), I’m all in.
And you all know what else I adore: any and all cheesecake recipes.
So it only made sense to me to combine these two beloved desserts into one. And lemme tell ya, this banana pudding cheesecake did not disappoint.
What is banana pudding cheesecake?
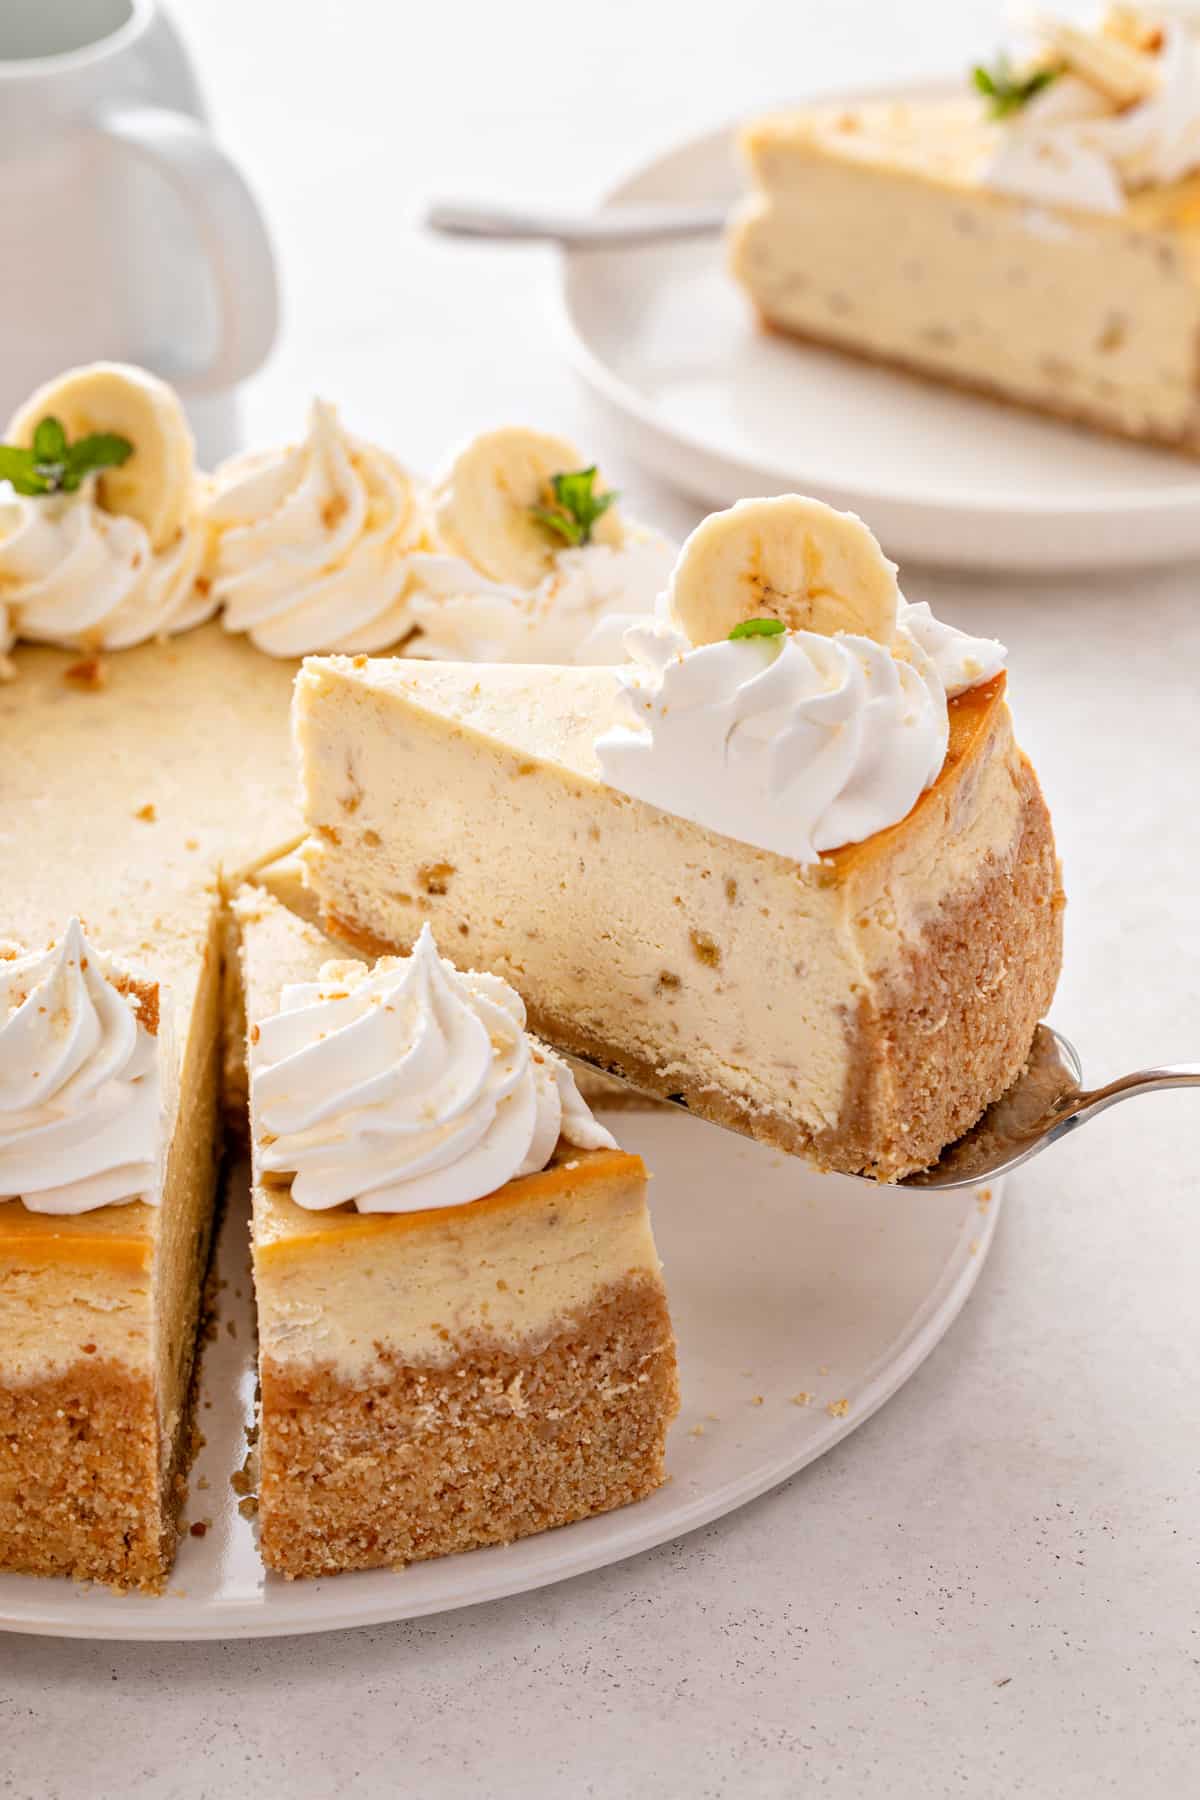
Banana pudding cheesecake is the best combination of two of my favorite things: banana pudding and vanilla cheesecake.
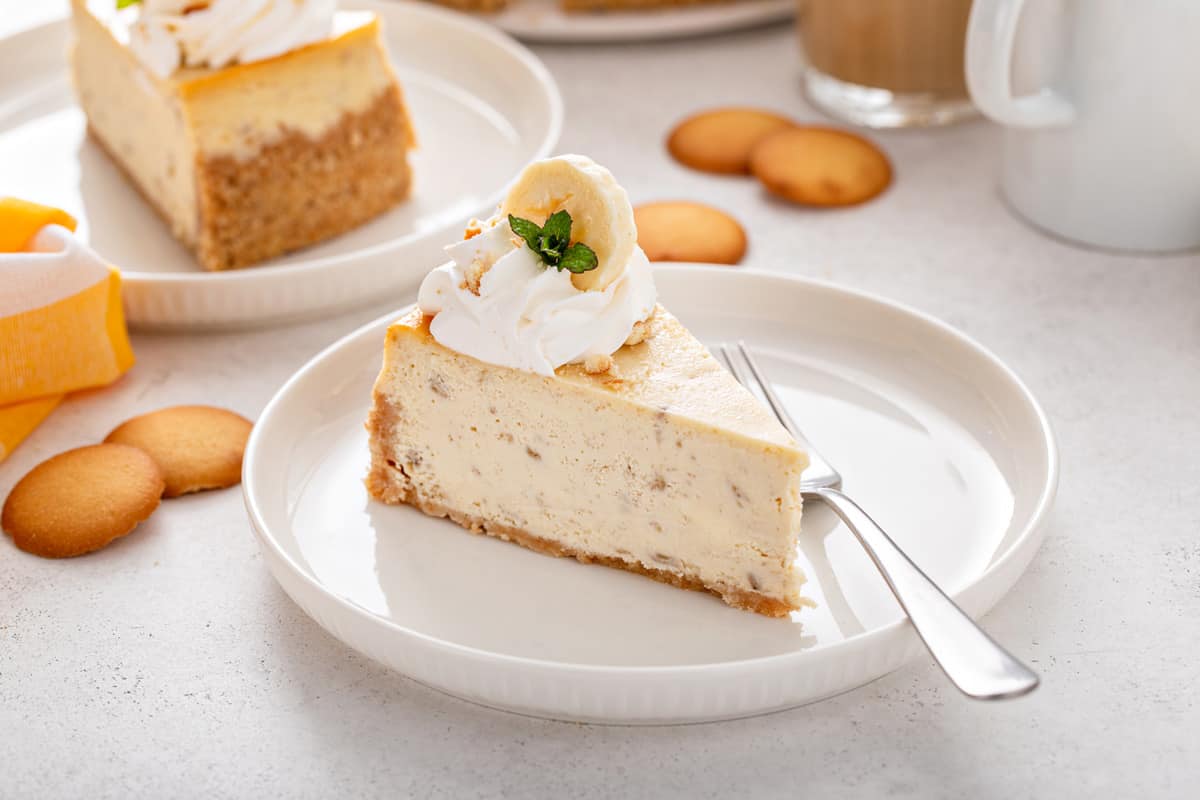
The base is a crust made from vanilla wafer cookies instead of graham crackers. On top of that, we have a rich, creamy filling that contains a full cup of mashed bananas.
Finish off the cheesecake with some homemade whipped cream and you have all of the components of a delicious banana pudding in a decadent slice of cheesecake.
This banana pudding cheesecake makes for a beautiful dessert any time of year, but I think it would be especially perfect for Easter or Mother’s Day!
How to make this banana pudding cheesecake
If you haven’t made a lot of cheesecakes before, don’t worry. I’ll walk you through every step, including my favorite tip for preventing leaks when using a water bath.
Ingredients you’ll need
This banana pudding cheesecake recipe is very similar to my vanilla cheesecake, with a few simple tweaks that make all the difference.
Instead of a graham cracker crust, this cheesecake has a vanilla wafer crust. For that, you will need:
- 2 cups Nilla Wafer crumbs
- 6 tablespoons melted unsalted butter
You will need about 8 ounces of the cookies to get 2 cups of crumbs. Save some of the rest of the cookies for garnishing the finished cheesecake.
Keep in mind that the vanilla wafer crust is a bit softer than a traditional graham cracker crust. If you prefer to use a graham cracker crust, no worries! The cheesecake will still be delicious.
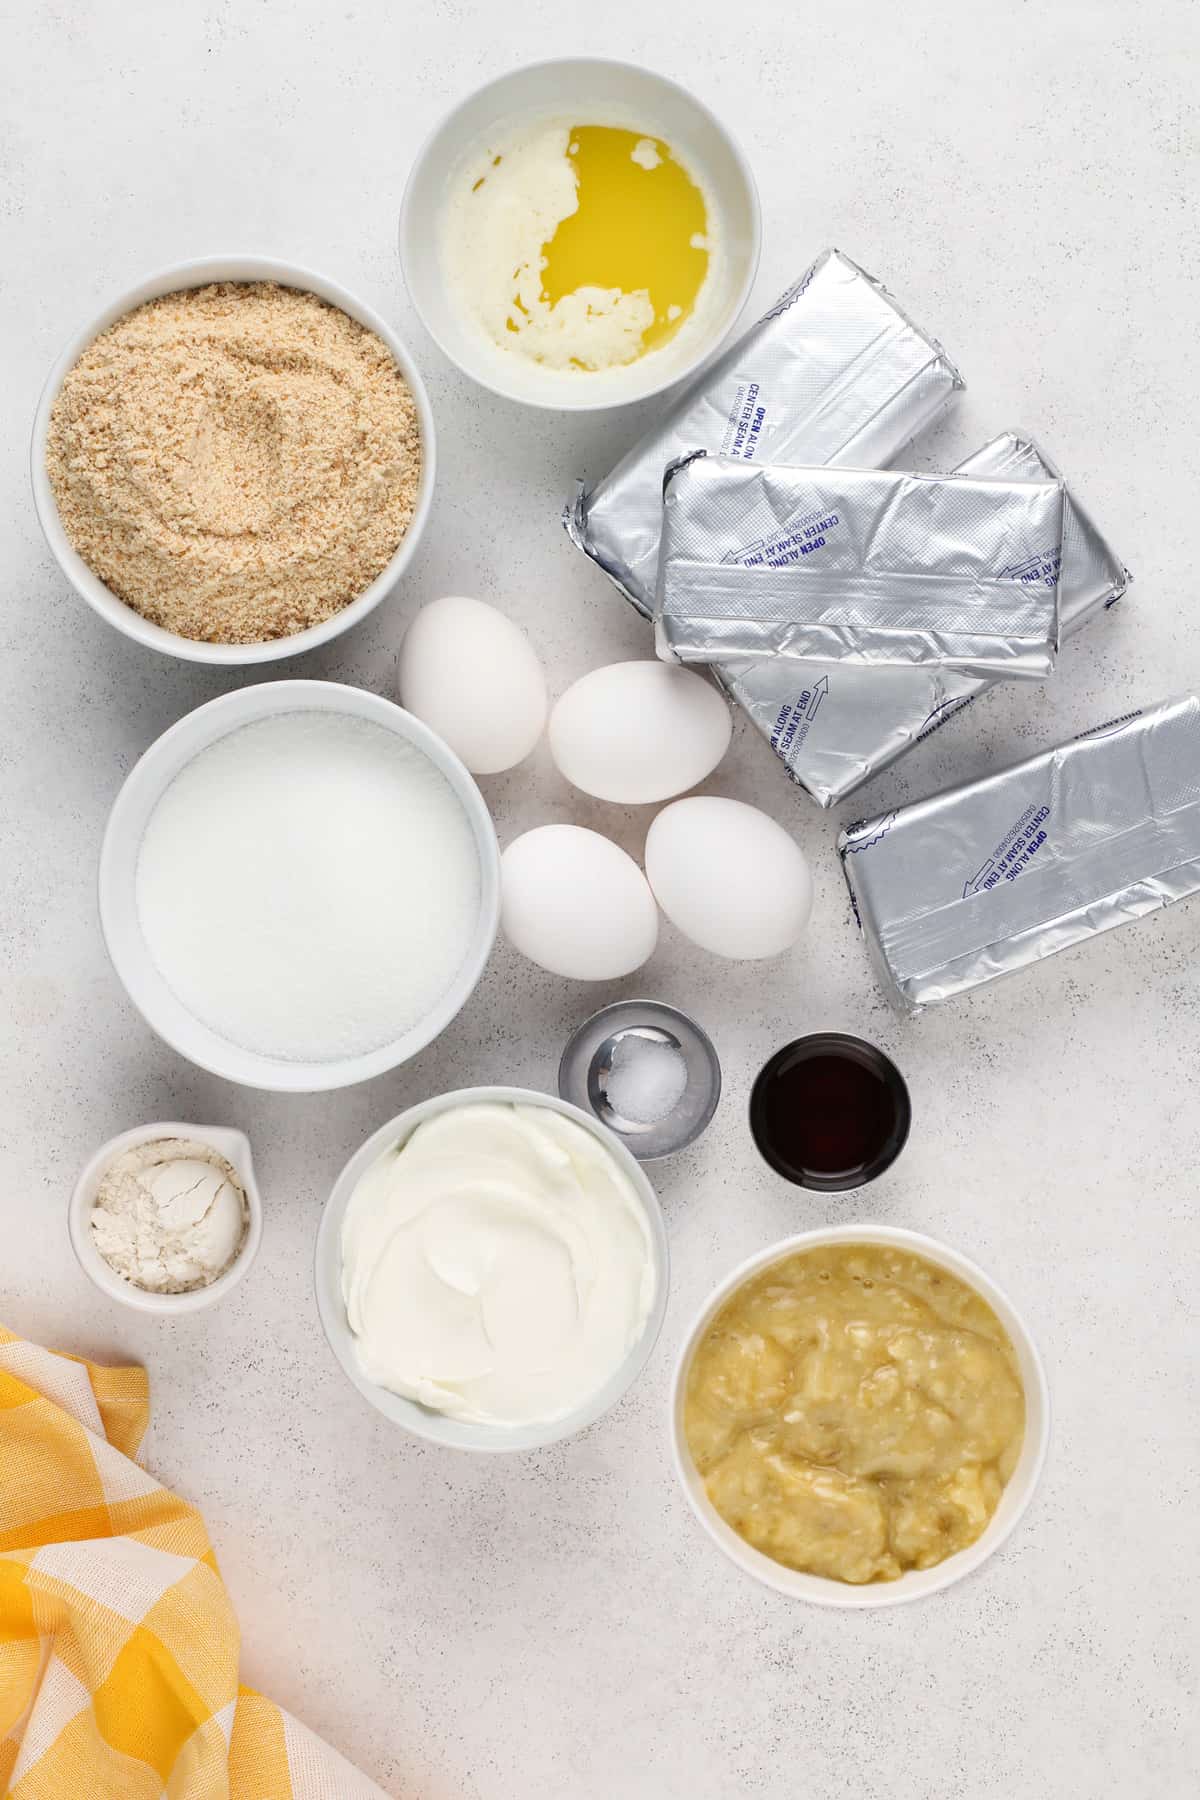
To make the banana cheesecake filling, you will need:
- 32 ounces room-temperature cream cheese
- 1 ¼ cups granulated sugar
- 3 tablespoons all-purpose flour
- 4 large room-temperature eggs
- 2 teaspoons vanilla extract or vanilla bean paste
- 1 cup mashed ripe bananas (about 2 ½ medium bananas)
- ⅔ cup sour cream
- ¼ teaspoon salt
One of the most important things about making a super creamy cheesecake filling is to make sure your cream cheese and eggs are both at room temperature.
If you forget to set your cream cheese or eggs out ahead of time, I’ve got some tips for softening cream cheese and bringing eggs to room temperature.
If you don’t want to see flecks of banana in the final cheesecake, you can puree them in a food processor instead of mashing them.
Pin this now to find it later
Pin ItMaking banana pudding cheesecake
Before you get started, prep your 9-inch springform pan for the water bath.
You can wrap the outside of the pan tightly with heavy-duty aluminum foil, but my favorite method is to simply set the pan inside of a 10-inch cake pan. Both pans can go inside of a roasting pan – the regular cake pan will keep the water from getting into the springform.
If you don’t have a 10-inch cake pan and want to use the traditional method, I have more details in my post on how to bake cheesecake in a water bath.
Spray the springform pan with cooking spray and set it aside.
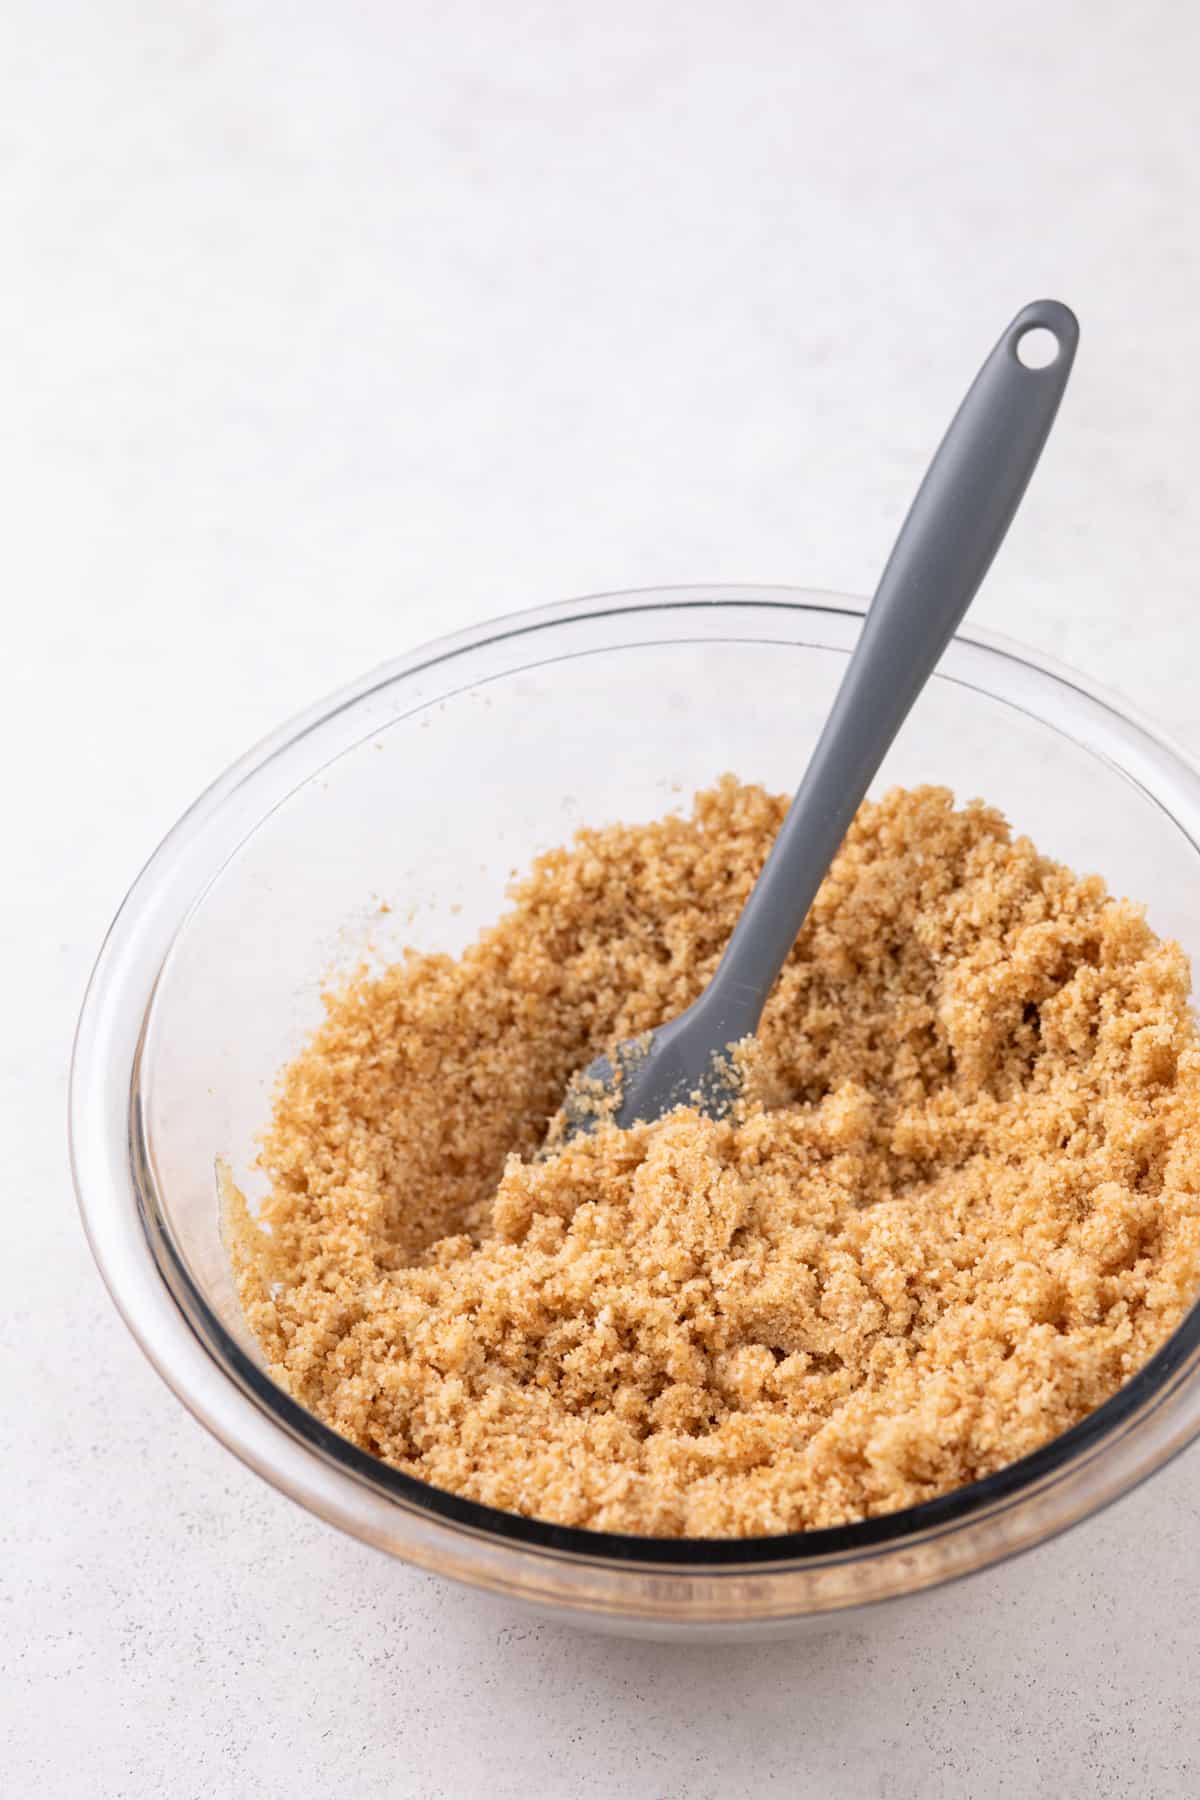
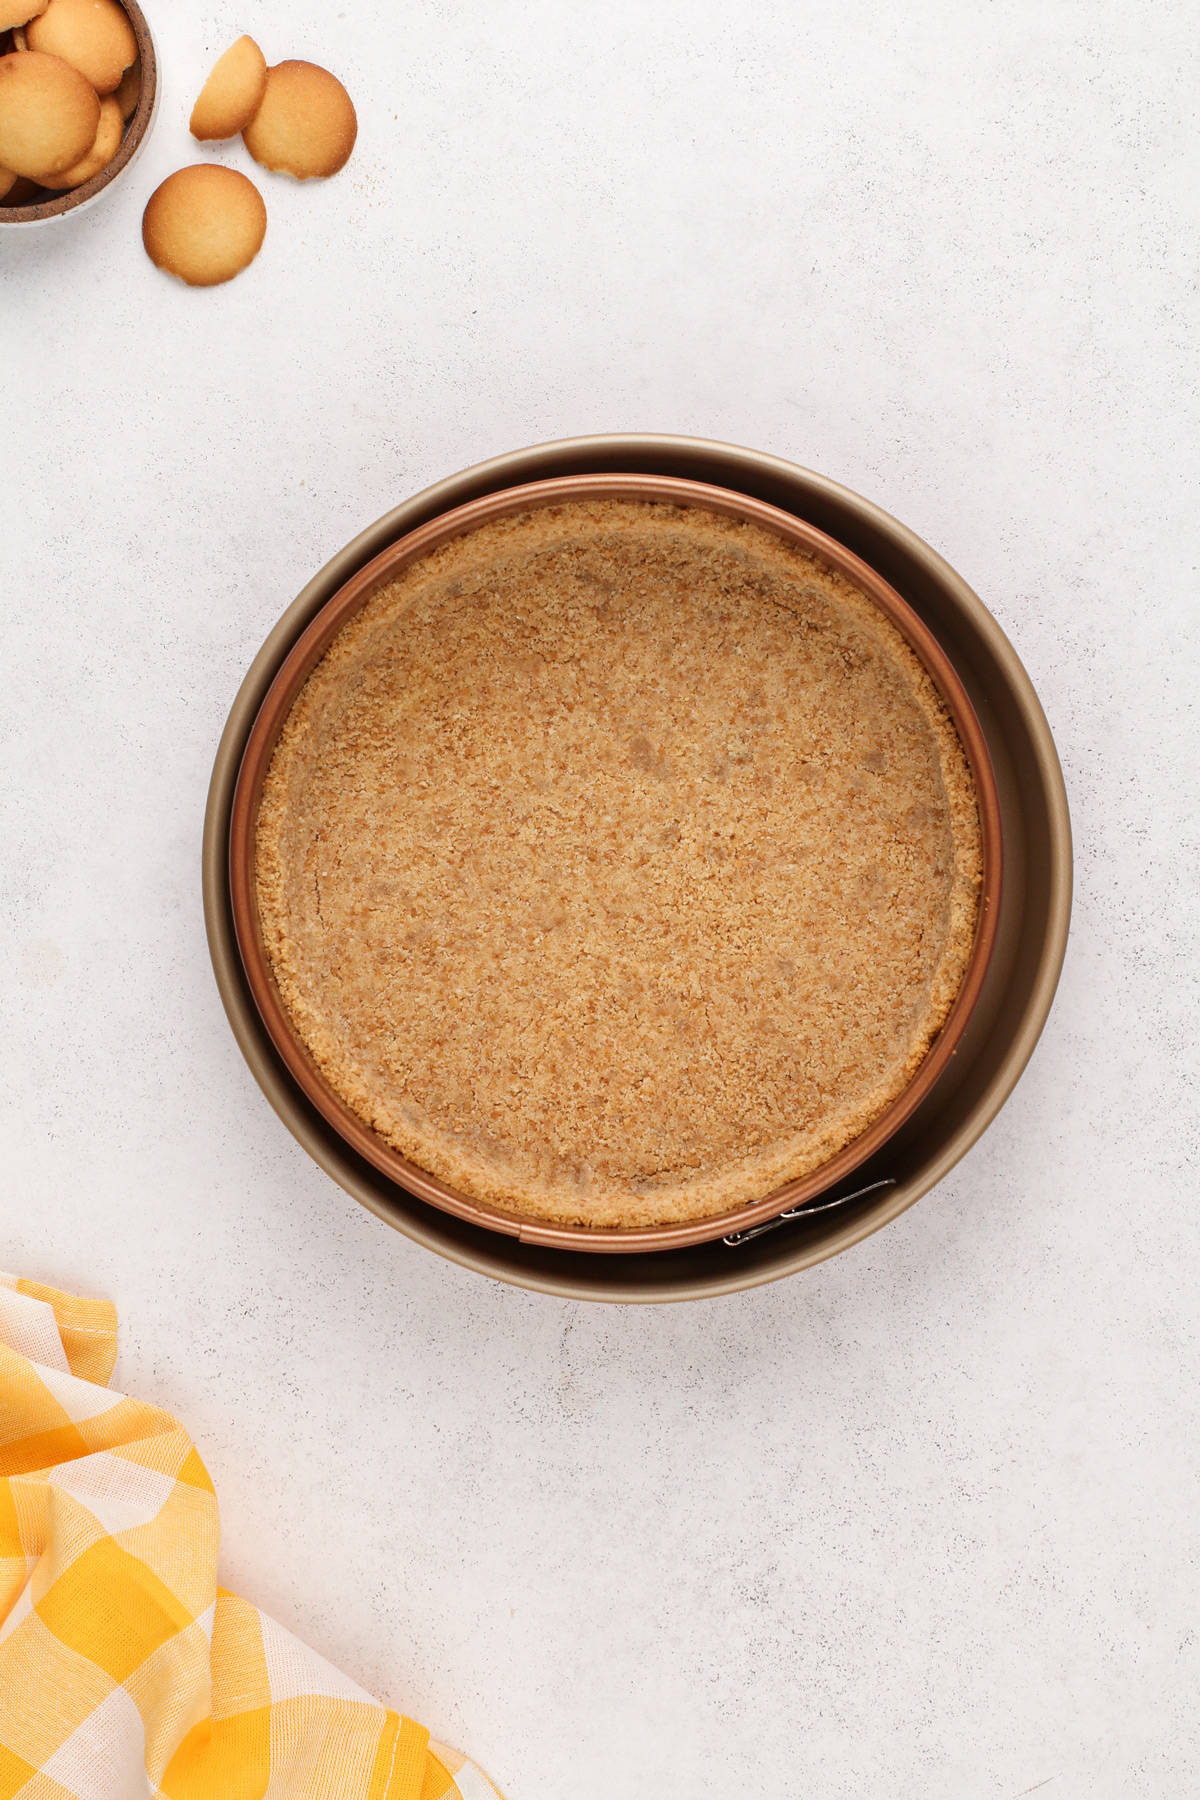
To make the crust, stir together the cookie crumbs and the melted butter. Press this into the bottom and 1 inch up the sides of the springform pan.
Bake the crust for 8 minutes at 350°F, then let it cool while you prepare the filling.
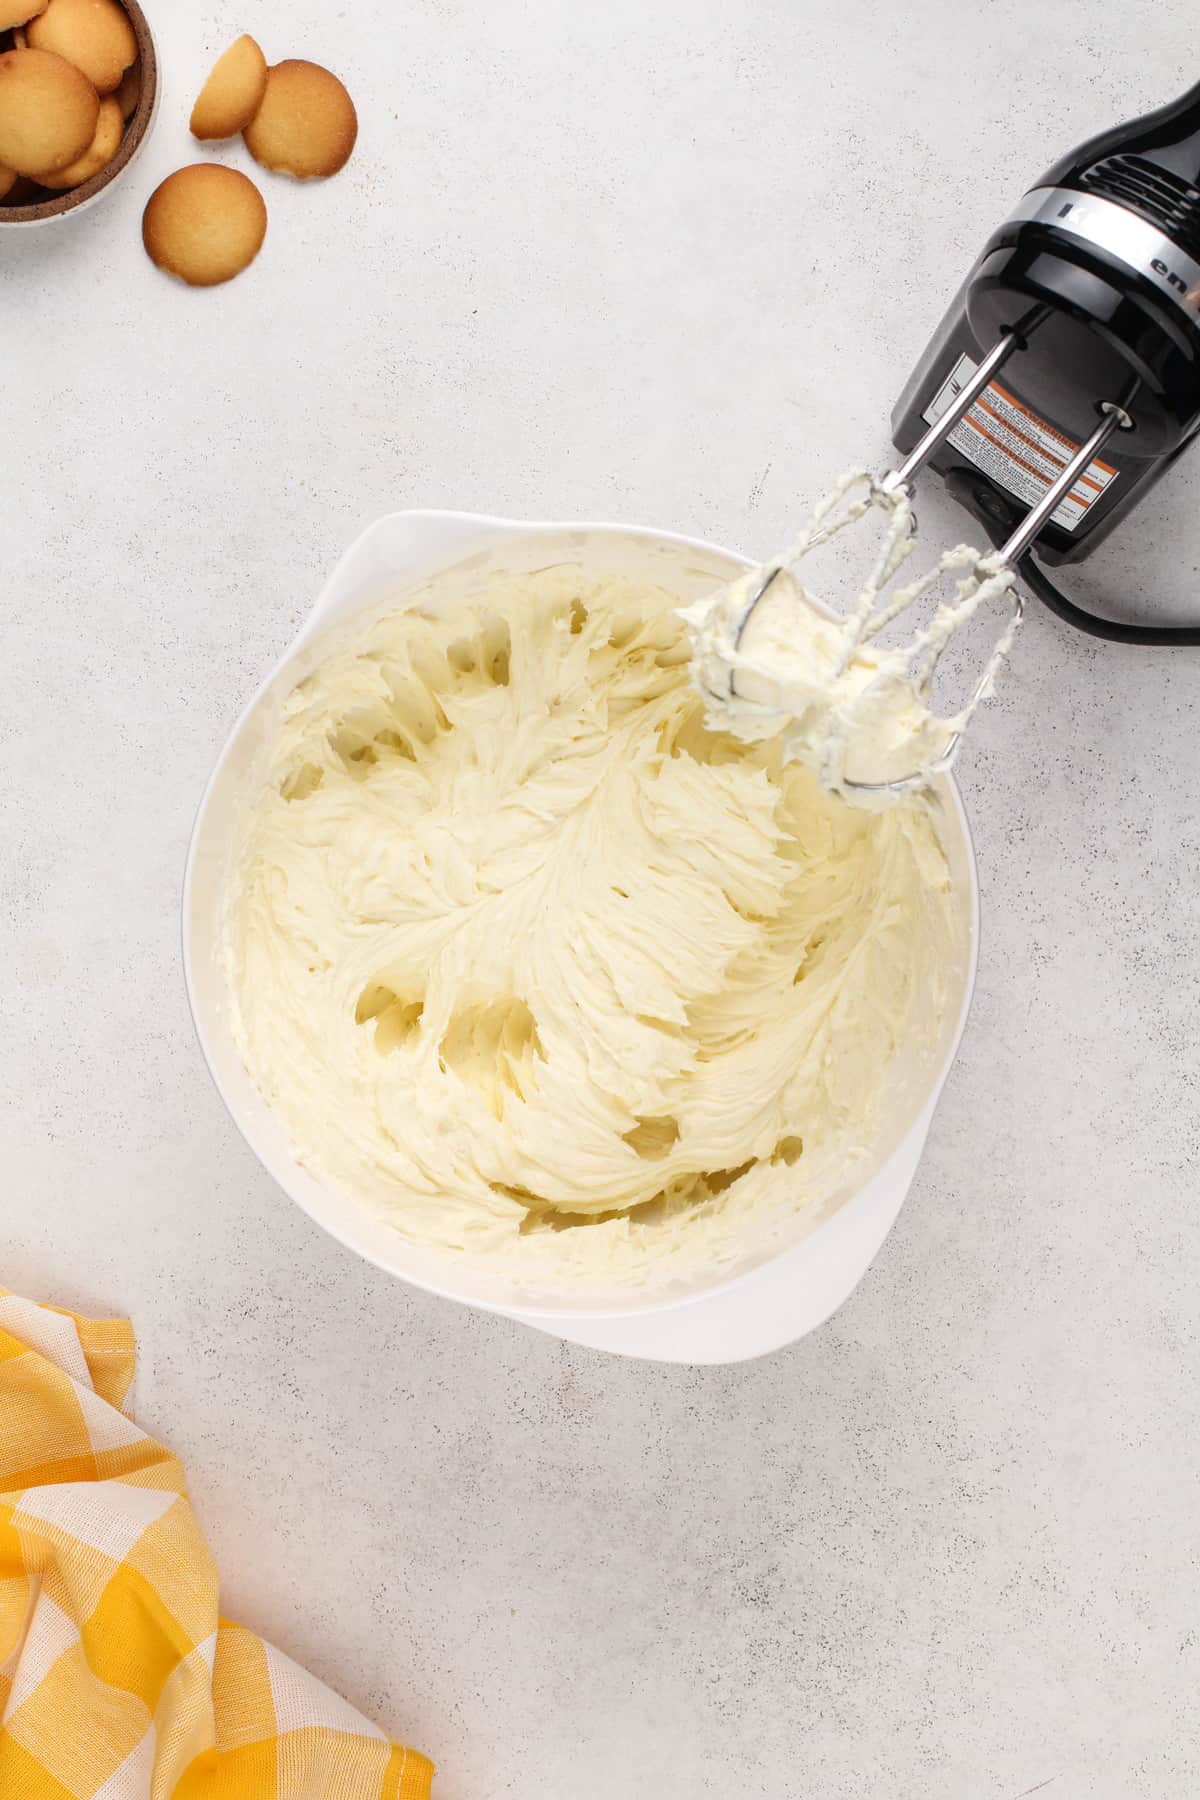
To make the banana cheesecake filling, use a mixer to beat the cream cheese until smooth. Add the sugar and flour, then mix until well combined, about 1 minute.
Add the eggs one at a time. Make sure you incorporate each one before adding the next. Don’t forget to scrape down the sides of the bowl as needed.
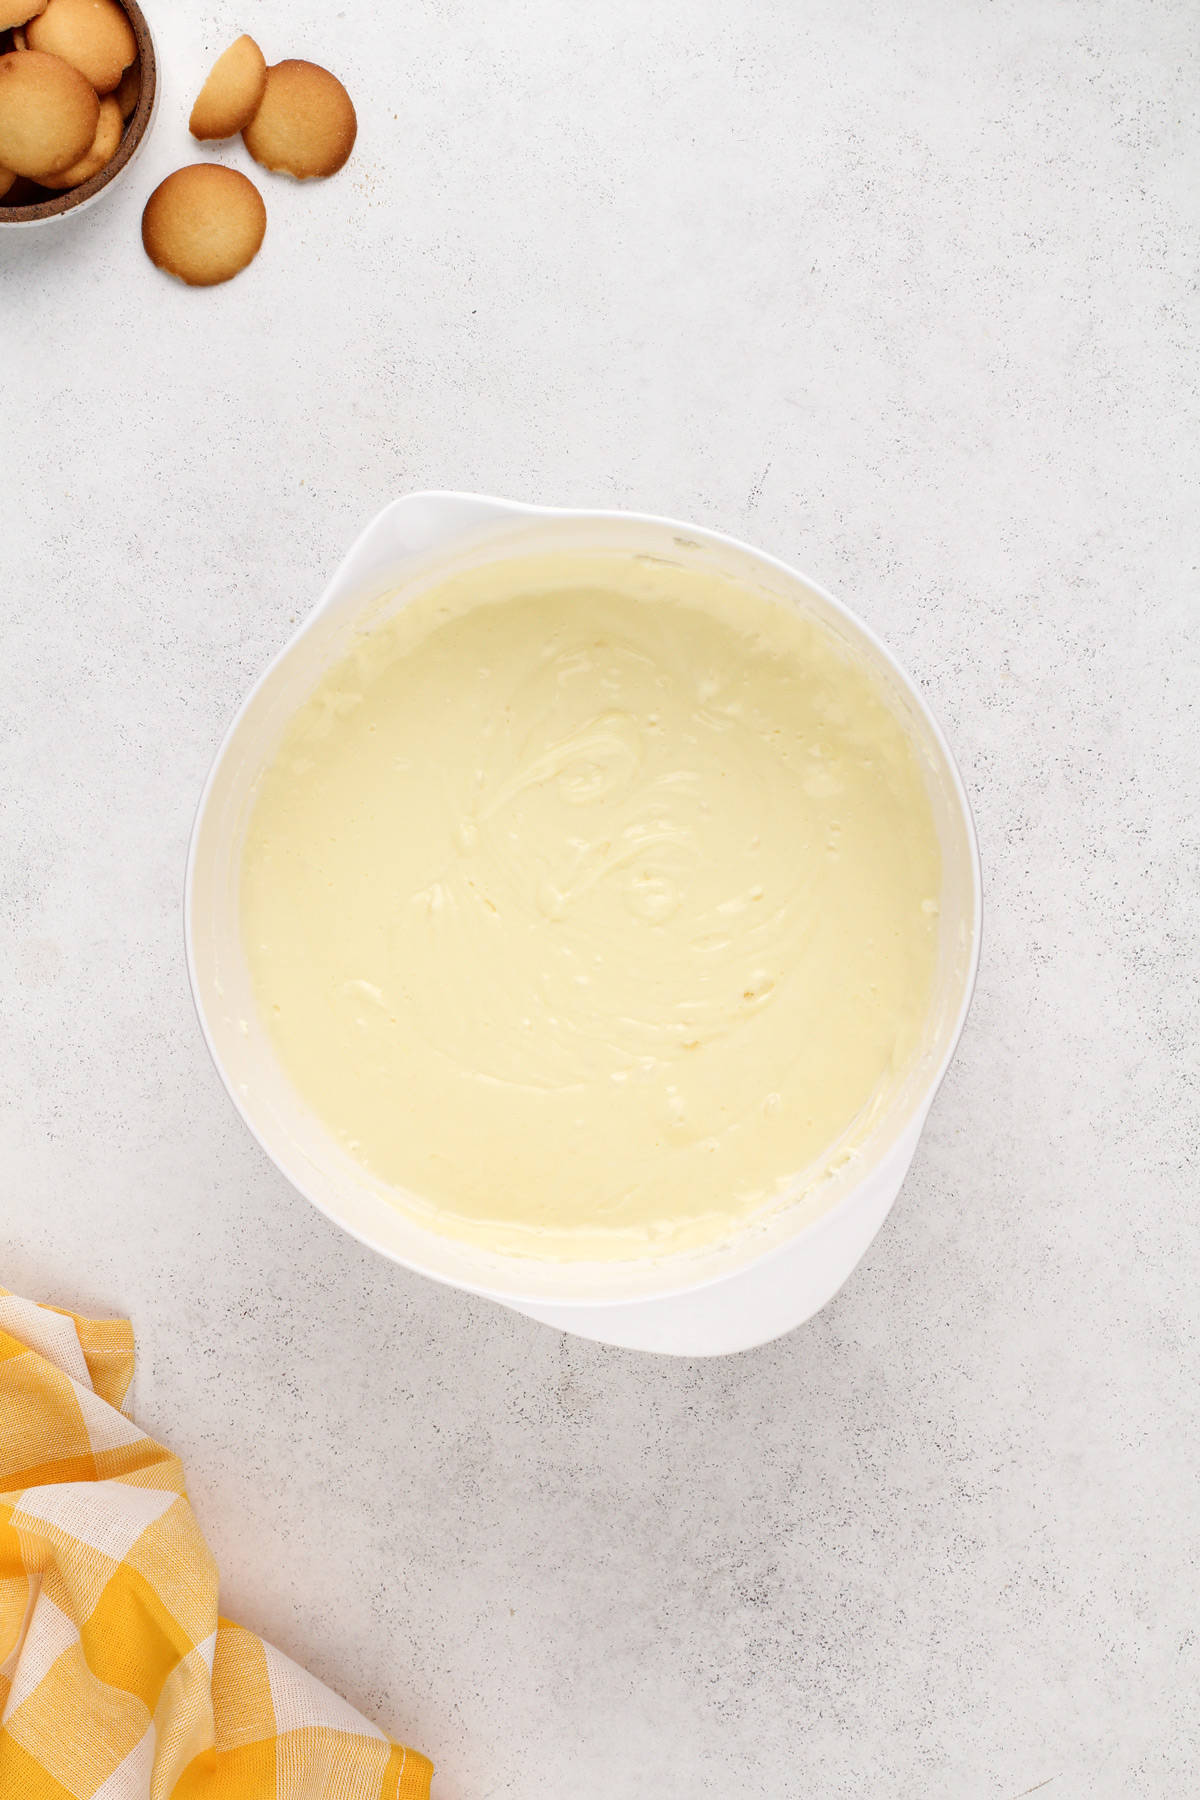
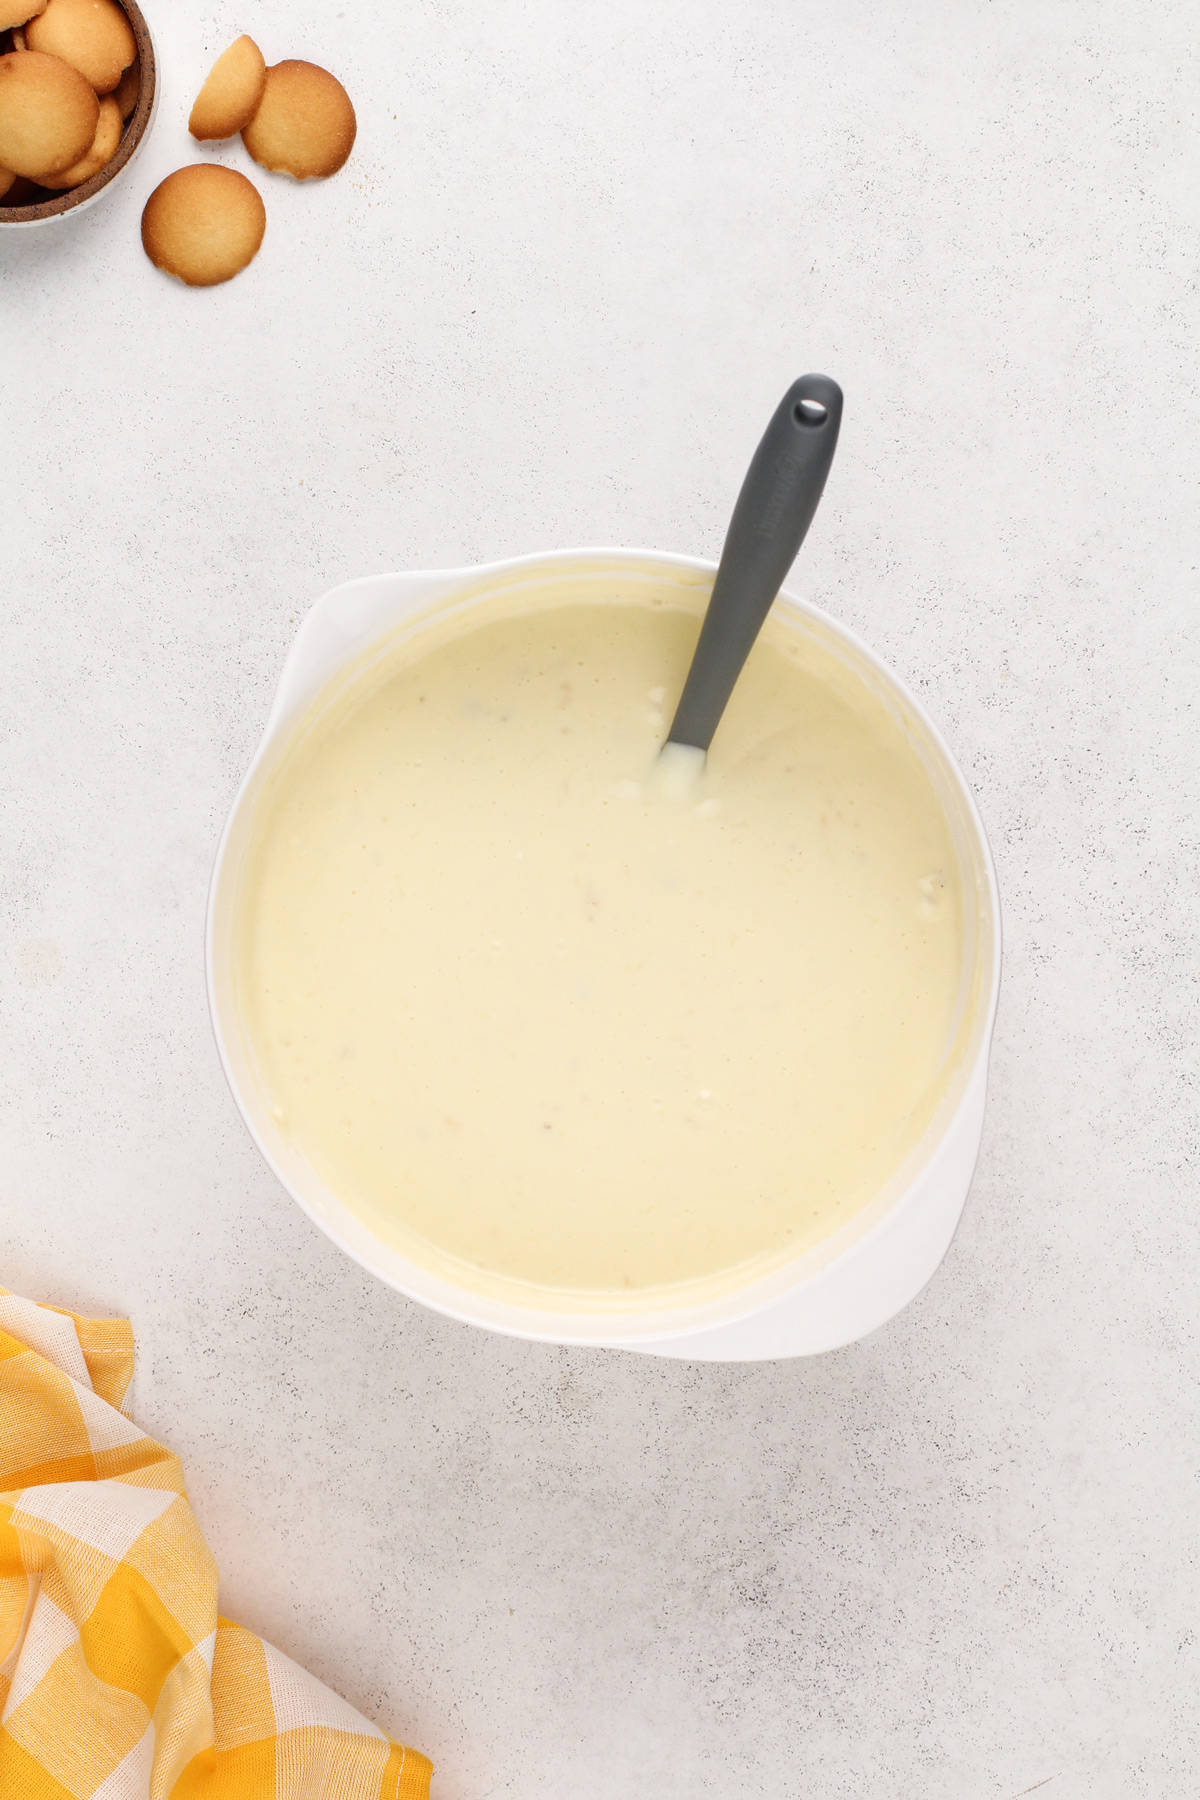
Finally, add the mashed banana, sour cream, and salt. Mix until smooth and pour the mixture into the crust.
Pour boiling water into the roasting pan until it comes halfway up the sides of the 10-inch cake pan. Bake at 350°F for 65-70 minutes.
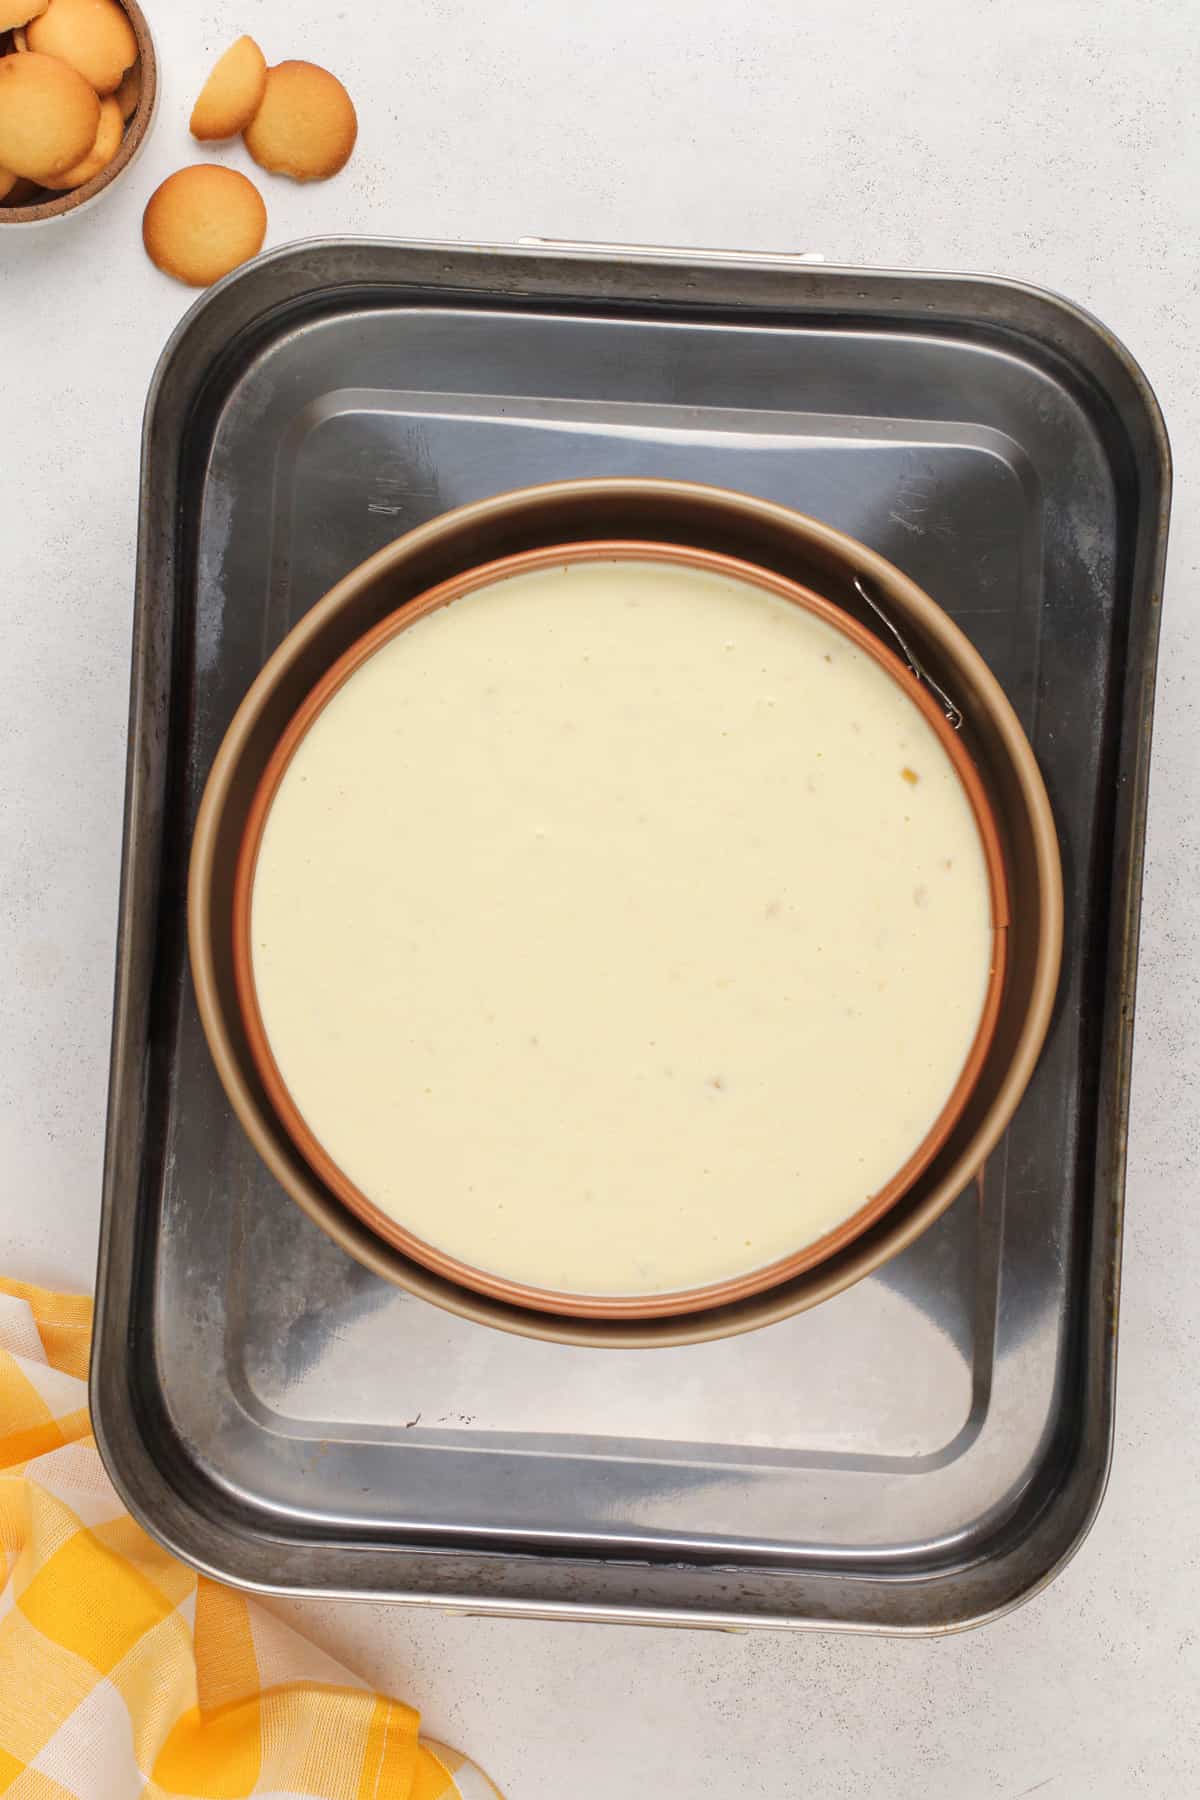
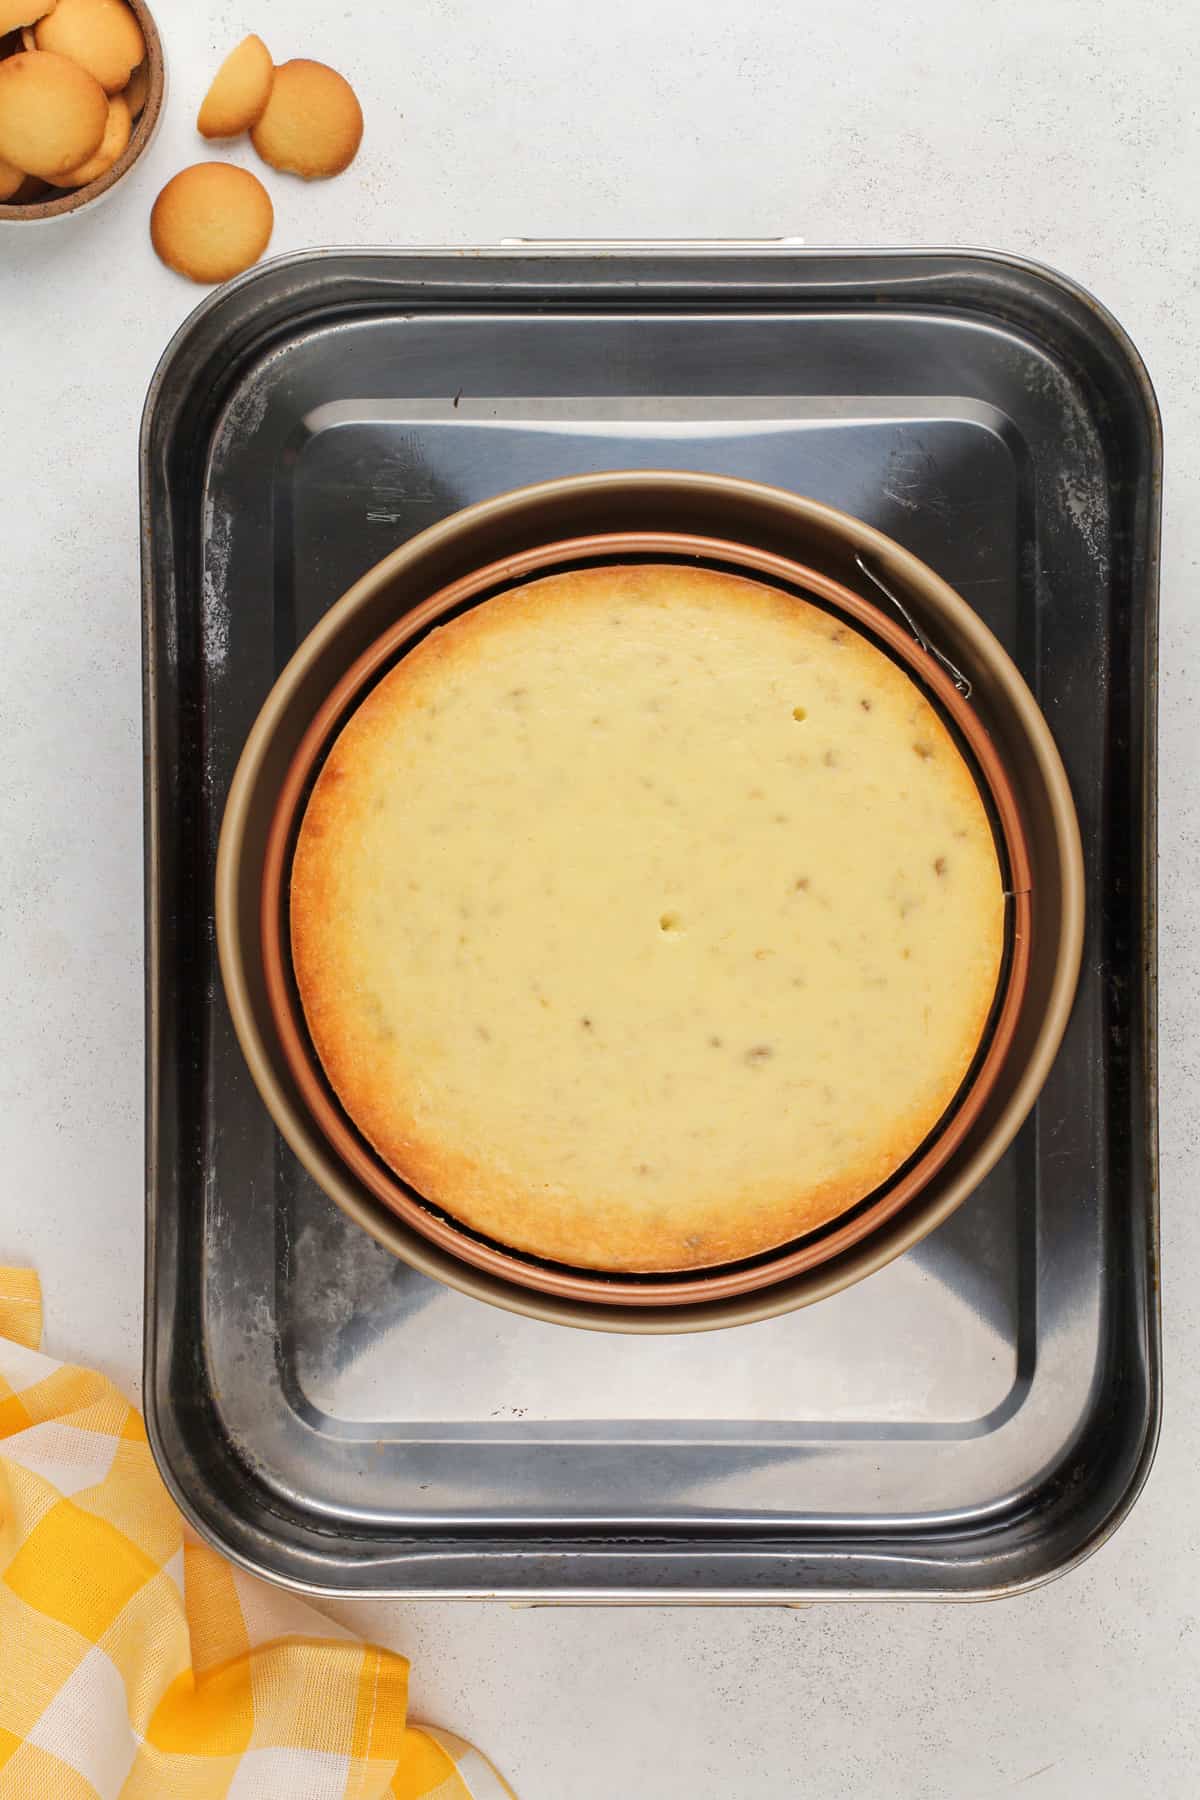
The cheesecake is done when the edges appear to be set but the center still has a slight jiggle to it.
Now turn off the oven and crack open the door, but leave the cheesecake to rest in the cooling oven for 1 hour. After an hour, remove the cheesecake from the water bath and let it finish cooling on a wire rack.
Chill the cooled cheesecake for at least 8 hours before serving.
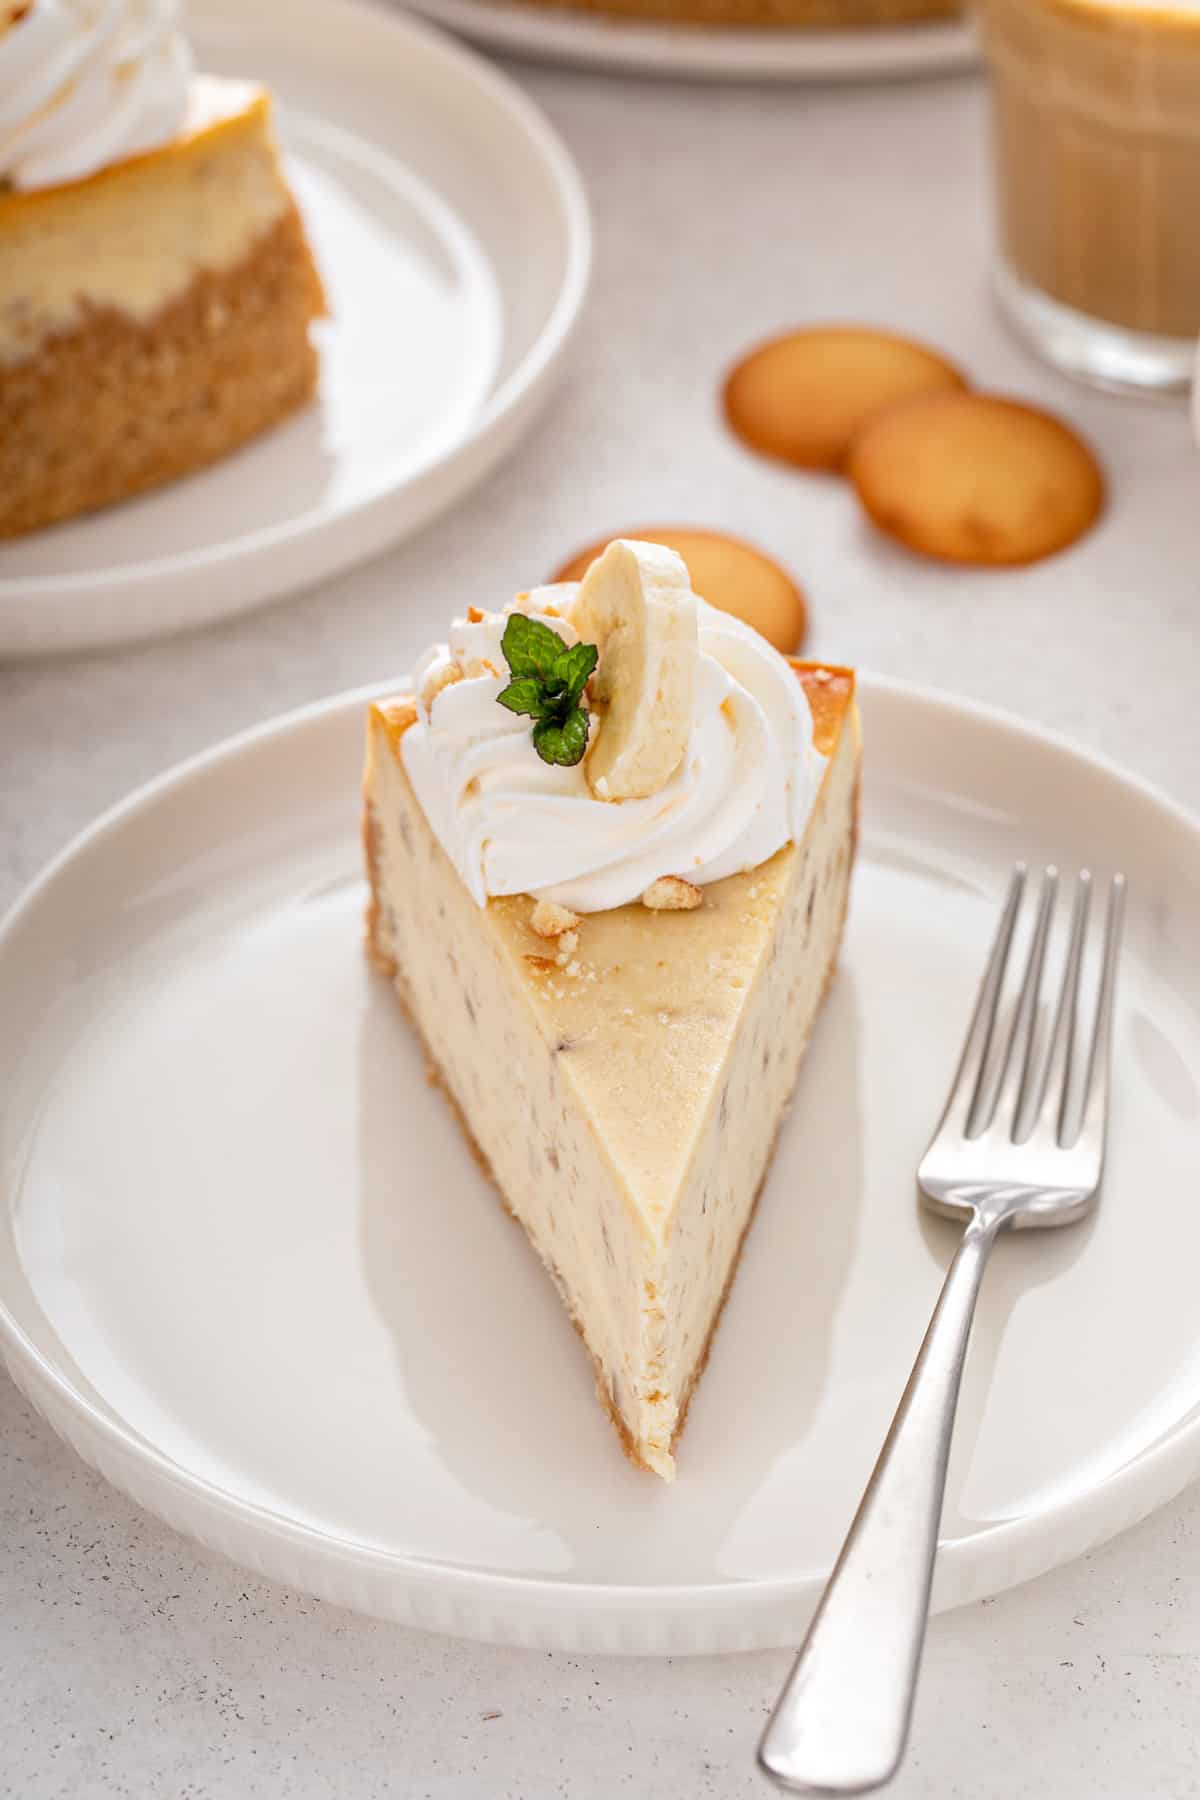
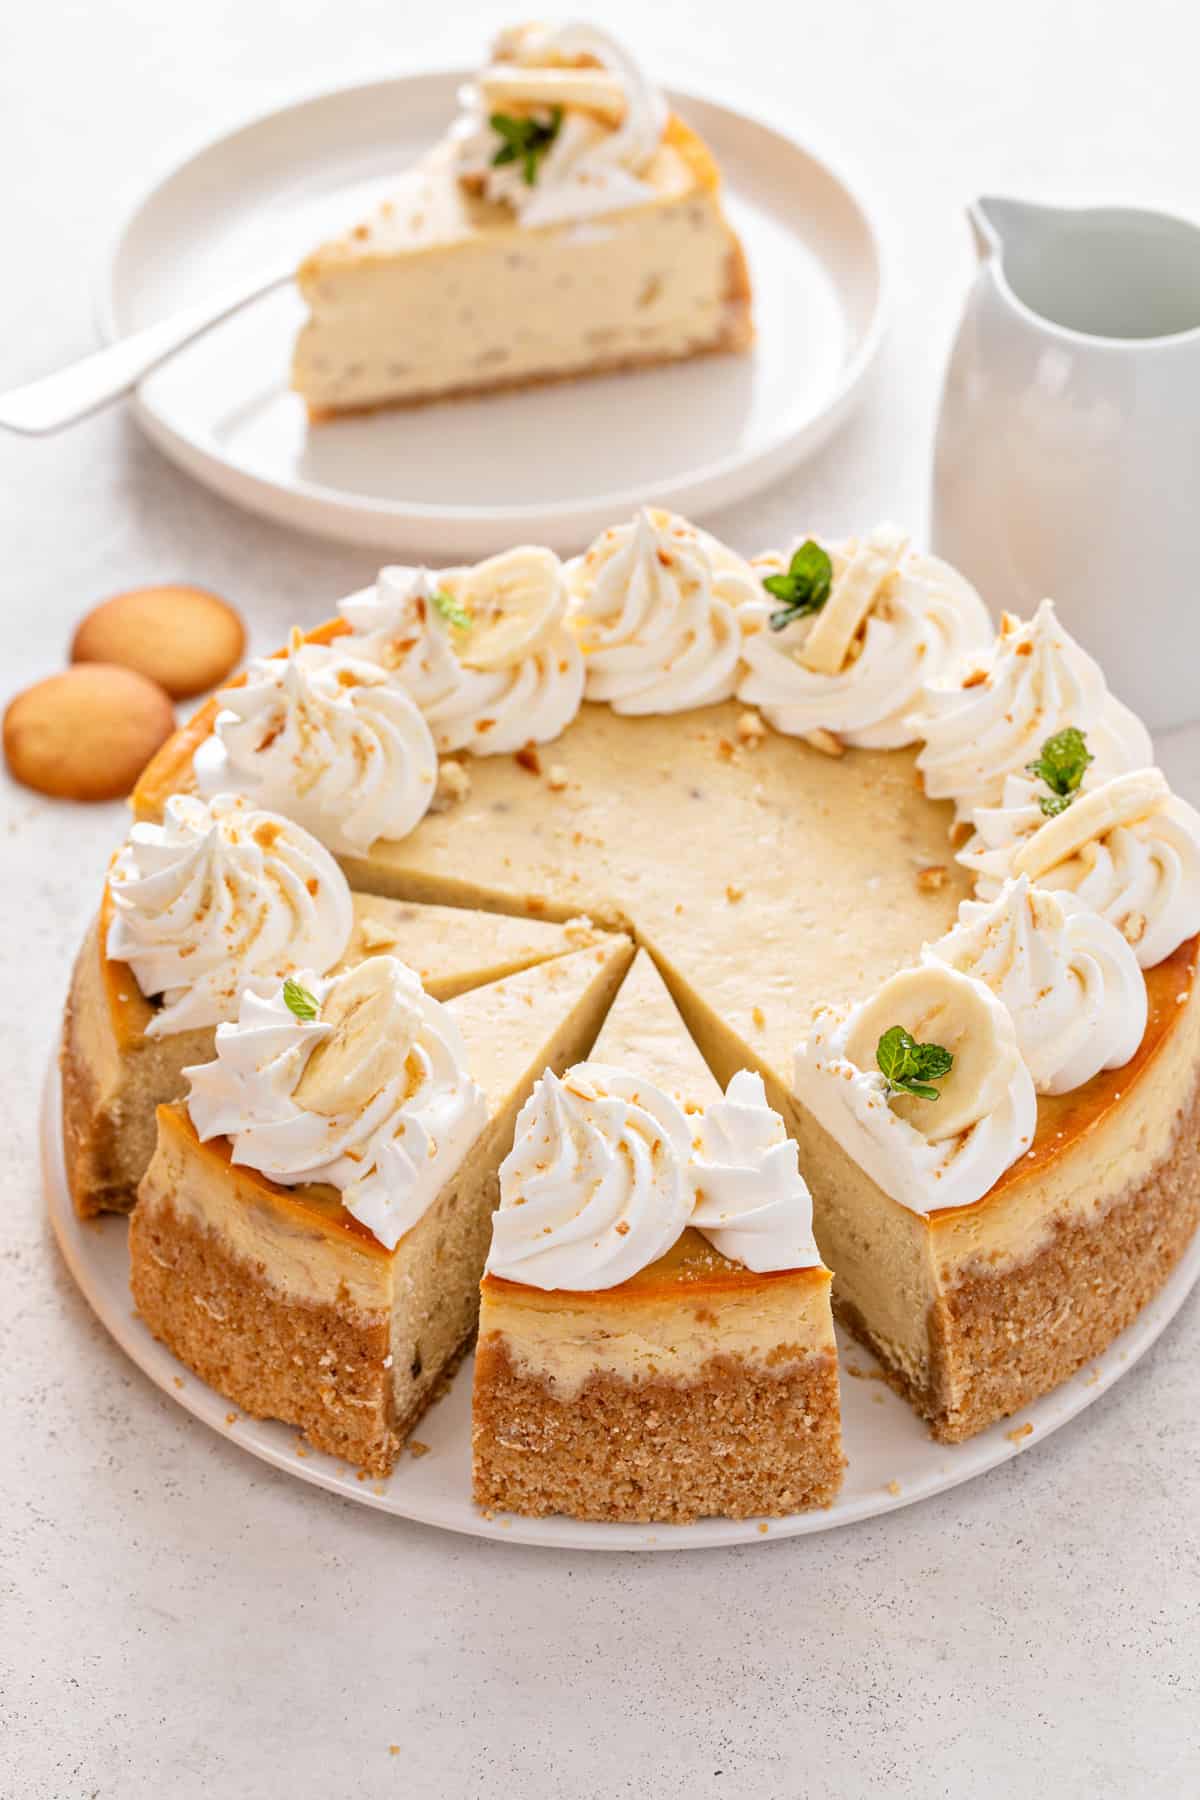
When serving, I like to top my banana pudding cheesecake with whipped cream, more vanilla wafer cookies, and freshly sliced bananas. But a drizzle of salted caramel sauce would be delicious, too!
Water bath tip!
My favorite way to prevent leaks when baking cheesecake in a water bath is to place a 9-inch springform pan into a 10-inch round cake pan. Both pans can now go into your large roasting pan.
Pour the boiling water into the roasting pan, outside of the 10-inch cake pan. You will get all of the benefits of baking with a water bath without the risk of leaks!
Storage tips
Store banana pudding cheesecake in the refrigerator for up to 3 days. If you aren’t planning to serve it right away, I recommend storing it without any toppings. Wait to add the toppings until right before you plan to serve it.
If you would like to, you can also freeze this cheesecake
Place the cooled cheesecake on a cardboard round and cover it tightly with plastic wrap. Then wrap it in a layer of foil and freeze it for up to 1 month for best flavor.
When you’re ready to enjoy the cheesecake, thaw it at room temperature for a couple of hours or in the refrigerator overnight.
Recipe FAQs
Yes! Sometimes I skip my mixer and use my food processor instead.
Using a big food processor is also a great way to get the filling for this recipe extra smooth without any flecks of banana in it.
Absolutely. Wrap the individual slices in a layer of plastic wrap followed by a layer of foil. Place them in a zip-top freezer bag and freeze for up to 1 month.
Banana Pudding Cheesecake
Ingredients
For the Crust
- 8 ounces Nilla Wafer cookies crushed into crumbs (about 2 cups of crumbs)
- 6 tablespoons unsalted butter melted
For the Cheesecake
- 32 ounces cream cheese room temperature (4 8-ounce packages)
- 1 ¼ cups granulated sugar
- 3 tablespoons all-purpose flour
- 4 large eggs room temperature
- 2 teaspoons vanilla extract or vanilla bean paste
- 1 cup mashed ripe bananas about 2 ½ medium bananas
- ⅔ cup sour cream
- ¼ teaspoon salt
Instructions
- Preheat oven to 350°F.
- Tightly wrap a 9-inch springform pan in heavy duty foil. This step helps to prevent leaks when using a water bath. However, my favorite way to prevent leaks is to place a 9-inch springform pan into a 10-inch round cake pan. Both pans can now go into your large roasting pan. Pour the boiling water into the roasting pan, outside of the 10-inch cake pan. You will get all of the benefits of baking with a water bath without the risk of leaks.
- Lightly spray the springform pan with nonstick cooking spray. Set aside.
- In a medium bowl, stir together crushed Nilla Wafer cookies and melted butter until thoroughly combined. Press the crumbs into the bottom and about 1 inch up the sides of the prepared springform pan.
- Bake the crust in a preheated oven for 8 minutes. Remove the pan from the oven and allow it to cool while you prepare the cheesecake filling.
- In the bowl of a stand mixer fitted with your paddle attachment, beat the cream cheese on medium speed for about 1 minute. Add sugar and flour and mix until smooth and well combined, about 1 minute.
- Add eggs, one at a time, fully incorporating each before adding the next. Make sure to scrape down the bowl in between each egg.
- Add in vanilla, mashed bananas, sour cream and salt and mix until fully incorporated and smooth, about 1 minute. Pour batter into the prepared crust.
- Place the 9-inch springform pan into a 10-inch cake pan and place both pans into a large roasting pan. Pour boiling water into the roasting pan until it is halfway up the side of the cake pan.
- Bake for 65-70 minutes, the edges will appear to be set, but the center will still have a slight jiggle to it. At this point, turn off the oven, but leave the door cracked and allow the cheesecake to rest in the cooling oven for one hour.
- After one hour has passed, carefully remove the cheesecake from the water bath and place on a cooling rack to cool completely. Once the cheesecake is completely cooled, place it into the refrigerator for at least 8 hours.
- Before serving, top with whipped cream, crushed Nilla Wafers and freshly sliced bananas. A drizzle of salted caramel sauce would be delicious as well.
Video
Notes
Nutrition
Nutrition information is automatically calculated, so should only be used as an approximation.


That looks mouth watering. I’ll definitely be making this.
I have to make this cheesecake!
This cheesecake was a huge hit at Easter dinner this year (2024). The recipe is well-written, easy to follow, and includes many helpful tips (especially DOUBLE FOIL around the pan!) I made it exactly as written.
Thank you :)
So happy to hear you enjoyed the recipe. Thanks so much for stopping back and leaving your feedback!
-Jamie
Everyone Loved this cake !!! Thank you for sharing.
So happy to hear you enjoyed the recipe. Thanks so much for stopping back and leaving your feedback!
-Jamie